
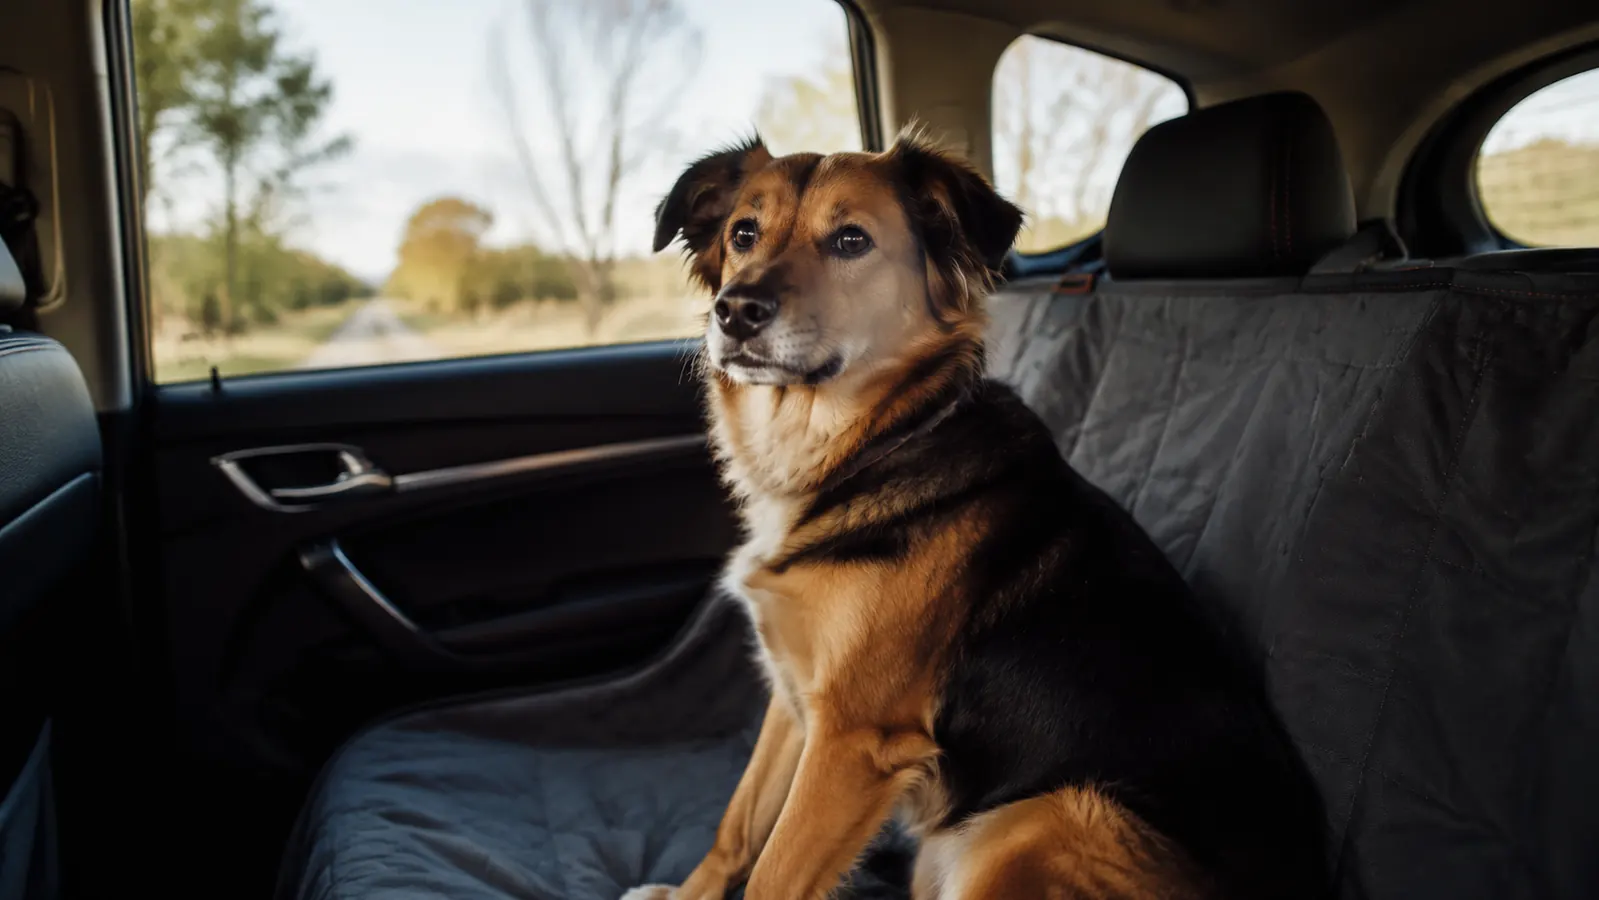
Every dog owner I know has a car story. The muddy paws after a rain walk, the fur that ends up woven into the fabric like it was sewn there, the drool on the window, the nose prints. And if your dog gets car sick, well, you already know how that ends. The reason most of us keep driving our dogs around despite all of that is simple: we'd rather have them along than leave them home. So the trick is not to give up on taking them, it's to make the car a place that can handle them.
I've been driving dogs since before seat covers were a common thing, and I'll be honest, I wore out a couple of perfectly good back seats doing it the hard way. My current crew rides on a URPOWER seat cover, and it changed the math completely. The seats stay clean, the dog stays comfortable, and the setup takes me under two minutes. If you've been meaning to make the car easier, here is the whole process I use, step by step, so you can get it right the first time.
Protect your seats on the very next trip
A waterproof, washable seat cover beats scrubbing fur and mud out of upholstery every single time. If you drive a dog anywhere, this is the place to start.
Amazon Check Today's Price on Amazon →Step 1: Read the fit before you touch the car
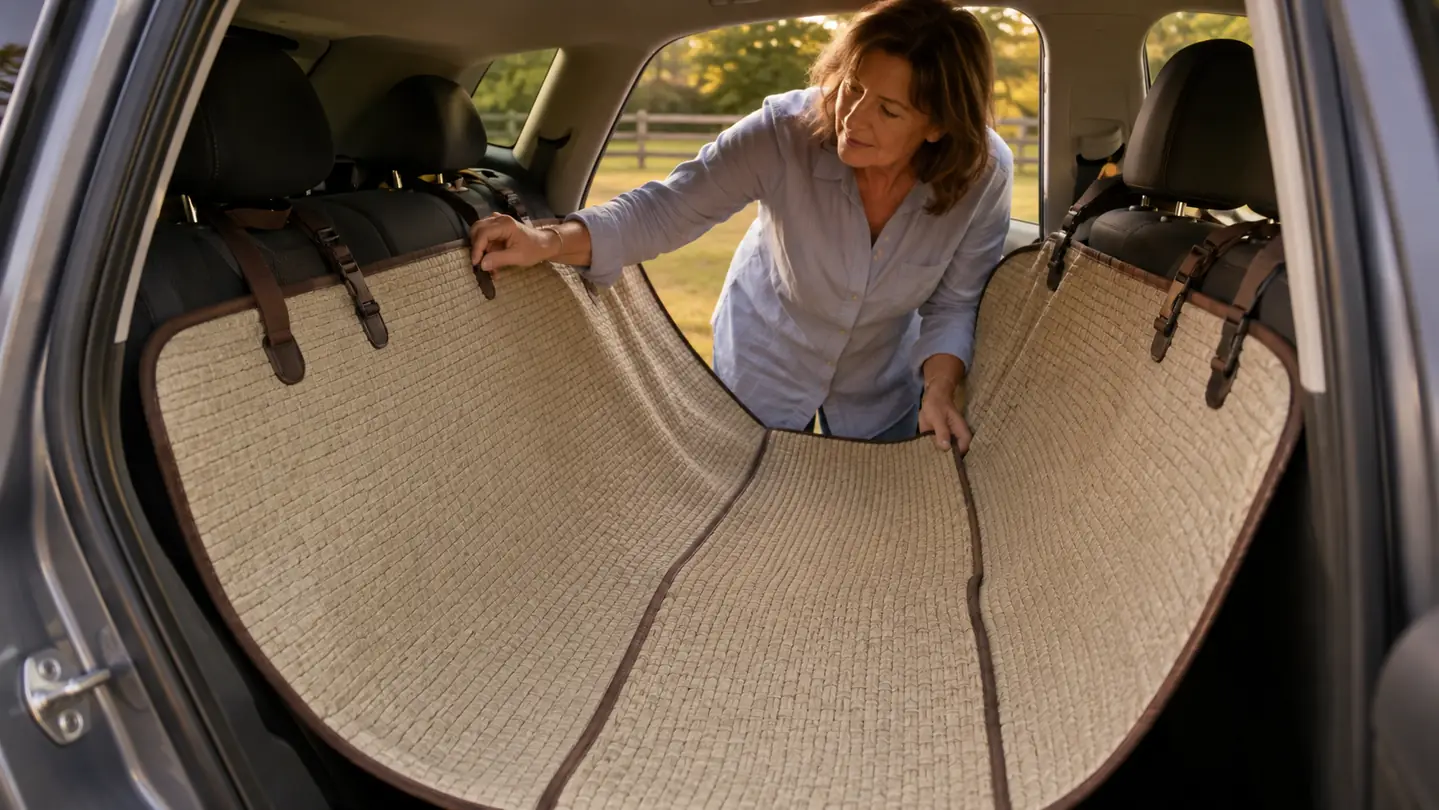
Most hammock-style covers work on almost any sedan, SUV, or crossover, but you want to read the size guidance for your specific car before you wrestle it into place. The URPOWER cover I use is listed for the back seat, and the hammock design means it stretches between the two sets of headrests. That is the whole point: the fabric sits like a sling across the seat, so there is no gap for a dog to slip down into the footwell behind the front seats.
Do a quick check of your own headrests. If they are fixed and won't raise, that's fine, it just changes where you hook the straps. Keep in mind the cover protects the seat and the back of the front seats, which is exactly the surface your dog actually touches on a ride. Getting the fit right up front saves you a lot of adjusting once the dog is in the car and impatient to leave.
It also helps to do this step before any trip, not the morning of. A dry run in the driveway means no dog waiting, no rush, and no trying to figure out which strap goes where while the dog circles your legs. Five minutes once, and every trip after is simple.
Step 2: Install the cover and cinch it down
Open the back door and drape the cover over the seat, hammock side facing where the dog will sit. Slip the headrest straps over each of the two headrest posts and pull them snug. The side flaps with the zippers are there so a dog can't push a paw or a nose down into the gap between the seat and the door, so get those tucked in too, not left hanging loose.
The one thing people skip, and it makes the cover slide around, is tightening it after the dog is in. A cover that's only loosely draped will bunch up under a moving dog, and then you're back to fur on the seat where it shifted. I pull the straps one more time once my dog is settled, and it stays put for the whole drive.
Because the material is 600D oxford with a waterproof backing, I don't worry about a wet dog or the odd spill hitting the actual seat. That is the reassurance the whole cover exists to give you. Once it's fitted, the fabric does the protecting, so you don't have to hover.
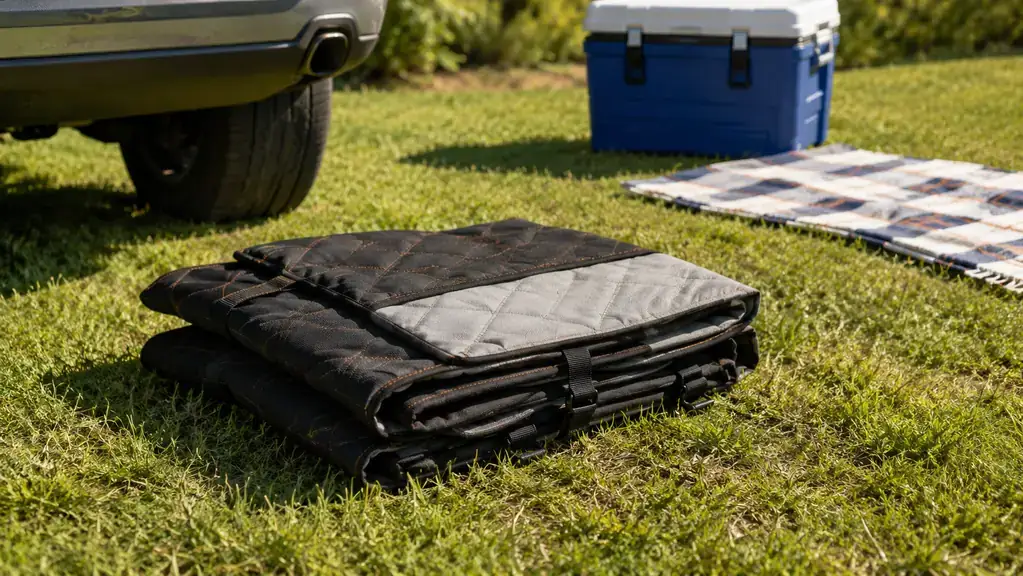
A small habit that helps me is keeping the cover loose in the trunk when I'm not using it, so it isn't a permanent eyesore and the straps never get tangled with the seat buckles between trips. If your dog rides daily, just leave it installed. For an occasional passenger, storing it flat keeps everything clean and ready for the next adventure.
Step 3: Secure your dog with the seat belt
Keeping the dog in the seat is only half the job. The other half is keeping them safe if you have to stop hard. A cover alone doesn't restrain a dog, which is why the URPOWER comes with a seat belt attachment. It clips around the headrest post on one end and around the dog's harness on the other, so a loose dog can't become a projectile in a sudden stop.
A few notes here. Always attach the tether to a proper harness, never to a collar around the neck, because a collar can choke a dog if the car jerks. Give the tether a little slack so the dog can sit and lie down, but not so much that they can climb into the front seat while you drive. My dog settles far quicker once he can't pace, and that alone makes trips calmer for both of us.
No restraint system is a substitute for sensible driving, and a dog should always ride in the back, never in your lap. But a simple tether is a big, cheap step up in safety, and it costs you nothing but a minute to clip in.
Step 4: Make the ride comfortable for a nervous or carsick dog
Some dogs love the car and some would rather not. If yours is the second kind, a little routine goes a long way. Start with short, boring trips that end somewhere pleasant, even if that's just a walk around the block, so the dog learns the car is not always the vet's office. A familiar blanket or a favorite toy on the cover helps too, because it smells like home.
For carsick dogs, fresh air and a light stomach make a big difference. Crack a window, skip the food an hour before you leave, and plan a stop partway if the trip is long. The hammock cover gives them a stable, grippy surface to stand on, which is easier on a queasy stomach than sliding around on leather.
I bring a small bowl and a bottle of water on longer drives, and I keep the stops regular. A dog that can stretch and drink will ride far better than one that's cramped for hours. The cover makes all of this easier because I don't have to worry about the mess a water stop or a nervous tummy might leave behind.
Step 5: Keep the cover clean and it will last
The reason I reach for a washable cover instead of a fitted one that has to stay in place is exactly this: it comes off. The URPOWER unclips, comes out of the car, and goes in the washing machine. That machine-washable part is not a small detail, it's the difference between a cover you'll actually use and one you'll dread cleaning.
Mine gets thrown in after the rainy weeks and the trips to the lake, and it comes out looking like new. Between washes, I shake out the fur and wipe the surface with a damp cloth and a little mild soap. Hair and dust gather no matter what, so a quick shake after each trip keeps it from building up and getting ground in.
Treat the cover the way you'd treat a good tarp, and it will keep doing its one job for years. A few minutes of care after a muddy trip saves you the whole mess in the car, and that is a trade worth making every time.
The cover doesn't just protect the seats, it takes the worry out of the whole trip, so you can enjoy having your dog along instead of dreading the cleanup.
What Else Helps
A seat cover does the heavy lifting, but a couple of cheap extras round out the setup. A door liner mat catches muddy paws and drool on the rear door panel, which a cover alone doesn't reach. A microfiber towel kept in the back handles wet spots and windshield fog from a warm, damp dog. And a spill-proof water bowl that hangs or sits flat keeps the drinking under control without adding puddles to your cleanup.
The other thing that helps is habit. If the dog only rides in cars where the mess always wins, they'll never learn the routine. Get them used to the harness and the tether from the start, keep trips pleasant, and your dog will settle into riding calmly. The gear makes it possible, but the calm comes from doing it the same way every time.
Common Mistakes to Avoid
The most common mistake I see is buying a cover but never using the tether, because clipping a dog in feels like a hassle. It takes seconds once you're used to it, and it's the difference between a dog that rides safely and one that would slide into the front seat in a panic stop. Do both, cover and tether, and you've covered the two real risks in one setup.
The other mistake is leaving the cover half-installed, straps dangling and flaps bunched. A loose cover slides, bunches, and lets fur and mud find the gaps anyway, which defeats the whole point. Spend the extra thirty seconds cinching it tight after the dog climbs in, and the cover actually stays where it's supposed to.
Who This Setup Is For
This is for anyone who drives a dog anywhere, from the quick trip to the park to a multi-day road trip. If you own a car you care about and a dog who sheds, drools, or gets muddy, a seat cover is the single best piece of car gear you can buy. It pays for itself the first time it saves your seats from a wet, dirty dog, and it stays useful for years.
It's equally at home on a weekend fishing run up a gravel road or a Sunday drive to see family. Dogs belong in the story of most of our days, and this lets them ride along without costing you a car seat. If you've been putting it off, this is the nudge to finally set it up.
The Payoff of Getting It Right
Once the cover is fitted, the tether is clipped, and the routine feels natural, the car stops being something you brace for. You just open the door, the dog hops in, and the trip starts. No mental checklist about seat damage, no dreading the cleanup at the other end. That freedom is what makes the whole setup worth doing.
And that is the real win, not a spotless car for its own sake, but a dog that gets to come along everywhere you go. A fishing trip, a visit to the in-laws, a rainy Saturday errand, it all gets easier when you trust the seat to handle the mess. Set it up once, and your dog can be part of every trip from here on out.
Set up your car for your dog this weekend
A waterproof, machine-washable seat cover that clips in in two minutes and keeps your seats clean for good. Your next trip with your dog deserves it.
Amazon Check Today's Price on Amazon →